Spotlights have long ceased to be a luxury item and, perhaps, you won’t surprise anyone with them. The devices are used to create suitable lighting, decorate a room, and even as interior elements. There are specific features of product selection, which depend on many factors. In this article we will tell you how to choose Spotlights for suspended ceilings and plasterboard.
Suspended ceiling
When choosing lighting fixtures for a plasterboard ceiling, you need to decide for what purpose you are going to install them:
- home decoration using correct location lighting devices;
- creating combined lighting and dividing the room into zones;
- an alternative to full lighting from a chandelier.
Spotlights for a suspended ceiling can be made of any materials; there are no restrictions here. You can choose products from aluminum alloys or stamped metal, and the only thing you need to pay attention to is the proportionality of the height of the ceiling space to the dimensions of the closed part of the lighting fixture. For different products, the free space behind the plasterboard ceiling should be from 2 to 10 cm. Before choosing and buying the desired model, be sure to find out what clearance you have.
Types of lamps
Of course, in order to choose the right spotlights for a plasterboard ceiling, you need to decide on the types of products, so we will dwell on this issue in more detail.
By installation type lighting are divided into:

Depending on the design, you can choose the following types of spotlights:

Based on the number of cartridges, lamps can be divided into:
Interesting video on the topic:
Lamps
Choosing the right spotlights for a plasterboard ceiling is, of course, an important undertaking, but do not forget about purchasing high-quality and suitable lamp. For these lighting devices, halogen, LED, mercury (energy-saving) and incandescent mirror lamps are suitable. The most a good option will be, despite the higher price compared to other light sources. These light bulbs are safe, with for a long time services, and with you you can easily adjust the brightness in the room.

You can also choose a halogen lamp for spotlights. It is not very economical, but is ideal for rooms where strong lighting or highlighting of interior elements is needed. Mercury products, on the contrary, are economical to use, but their light is not very useful for vision and they are difficult to dispose of. As for incandescent lamps, we do not recommend using them in principle. They heat up quickly, are not durable and are not particularly effective.
A little about design
Of course, we all want to choose not only effective, but also beautiful spotlights that will suit the interior of the room and no matter what room you want to install them in - the living room, bathroom or kitchen. You should always do everything with taste! This is especially true in cases where the design of the house is made in a particular style. 
If you want to choose lighting fixtures for classic room, we recommend purchasing products in a bronze frame. It is also possible to choose models with ornaments or crystal shades. For the Provence style, an oval golden frame with glass shades is recommended. For such modern styles, like hi-tech or minimalism, cold ones are suitable metallic colors, square or round shapes. By the way, it is for this style that the use of cardan models will be successful. As you yourself understand, the choice of spotlights by design is a purely individual process and, of course, everything here depends on your subjective vision and taste.
This issue is discussed in more detail in the video:
Stretch ceiling
As for how to choose spotlights for a suspended ceiling, here you can apply all the selection rules for a plasterboard ceiling space. However, there are still some nuances associated with the danger of heating the tension fabric (by the way, these tips are also suitable for owners of a plastic ceiling):

If you need to choose spotlights for a suspended ceiling, we recommend that you watch a video that compares various options execution of spotlights.
Stretch ceilings are becoming an increasingly popular solution when creating an interior, but the lighting design of a room is becoming more complicated. Most often, spotlights are used in the design of suspended ceilings - they do not stand out from the general surroundings, look laconic and are therefore suitable for most interior solutions. An important advantage of such lamps is durability and the absence of any specific maintenance. Electricity consumption will also be insignificant.
How many spotlights do you need for a room?

One of the problems faced by people who want to install suspended ceilings is determining the number of lamps for sufficient illumination of the room. There is nothing complicated in the calculations, and there is nothing complicated in taking into account some additional nuances. Main criteria to be taken into account:
- Room area.
- Wall height.
- Natural light (depending on the size of the windows and the location of the house).
- Other light sources (if any or provided for by the project).
Number of spotlights per square meter room will largely depend on the type and power of the lamps. For example, with a power of 35 W for every 1.5 sq.m. The area should be one lamp. The general recommended value is an illumination of at least 20 W per square meter.

Other calculation results will be obtained if spotlights are used only as additional light sources. If the initial illumination is sufficient, you can independently determine the number, brightness and location of lamps so that they optimally suit the existing design premises.

The distance from one lamp to another should not be less than 30 centimeters. Lighting fixtures should not be placed near walls - minimum distance in this case it is 20 centimeters. If the ceiling height is less than 2.7 meters, the power of spotlights should be less than 30 W, otherwise the lighting level will be too high.
Spotlights on the market are offered by many trademarks. Special attention should be given to brands such as Eurolampart, Cremasco, Axo-light, Lightstar - these are brands that have long earned international recognition. Naturally, these lamps are not very cheap, especially at retail. The best option savings – purchase
As you know, lighting plays an important role in any room. It is this that can highlight the interior and present the room in a completely different look. Modern designers It is recommended to use lighting based on the installation of LEDs. In this article we will give you tips on how to choose and install spotlights with your own hands.
Chrome spotlight
Why are such lamps needed?
Only spot lighting can provide uniform illumination of all corners of the room. Even the largest chandelier is unable to cope with such a task. You still cannot avoid the appearance of shadows and darkened corners of the room, since there will be only one light source. Spotlights come to the rescue. Experts call them “spots”. They have small power and size, and are installed evenly over the ceiling area.
It should be noted that you can use this type of lighting only in the case of a suspended ceiling. Moreover, it will be necessary to develop a layout of the lamps before its installation.
Spotlights are fixed at the level of the suspended ceiling. Their lighting angle is 30 degrees, so it is recommended to install them as tightly as possible. The recommended distance between rows of lamps is no more than 1 meter. The outer rows of lamps should be located at a distance of no more than 60 cm from the walls. Such figures are relevant when standard height the walls of our houses. Also note that lighting is most effective when it is located at a higher height than the main furnishings of the room.
Spot lighting can be installed on any type of suspended ceiling. The easiest and most reliable way to install lamps is in a plasterboard ceiling. But for professionals, the process of installing spot lighting in plastic ceiling or aluminum strips is not difficult.
 Spotlights on a suspended ceiling
 Please note that such work requires certain installation knowledge and skills in working with tools and materials.
How to choose spotlights
If you want to install spotlights on a suspended ceiling system, you first need to understand this concept in terms of their physical properties.
You need to choose the same type of lamps for each type of lighting. Please note that not all types of lamps may be suitable for luminaires. pay attention to specifications lamps and lamps.
It is also necessary to choose the right wires for power transmission. Their cores must be class 3 flexibility, that is, consist of many thin wires. This will ensure their flexibility. For plasterboard ceilings, ordinary VVG brand wires, two- or three-core, with a cross-section of 1.5 square meters, are quite suitable. mm. For suspended ceilings made of PVC films, plastic or MDF, RKGM brand wire is suitable.
Wires and lamps must be connected using special terminal blocks. You can buy them at any hardware store. With this type of fastening, you should check the degree of tightening twice a year. When it is loosened, the wires will heat up and char. You will also need electrical tape, which will serve as protection at the junctions of wires and lamps.
Ceiling properties
Keep in mind that incandescent lamps with a power exceeding 40 W cannot be used with suspended ceilings made of PVC film; from fabric - over 60 W. If you decide to install halogen lamps, then their power should not exceed 20 W for the film and 35 W for the fabric base of the stretch ceiling.
Properties of lamps
When choosing lamps, you must also follow our advice.
The spotlight must have a special side that serves as a camouflage for the fasteners. Also, such a side ensures the stability of the structure itself on suspended ceiling. If you decide to create the effect “ starry sky", based on a suspended ceiling of two levels, professionals recommend purchasing low-voltage lamps good quality. Under no circumstances should you save money here.
But there are also some disadvantages. For example, if the lighting system breaks down, it can be replaced with great effort.
When choosing the type of lamps, pay attention to the fact that the light is directed and not diffused. On the ceiling, such lamps will create a much better effect.
There are lamps that are treated with mirror coating or have a black bulb. They have better thermal insulation and light transmission. You can create this effect yourself by wrapping the lamp in foam insulating foil material. Also, do not forget about the safe distance, which can be at least 13 cm. If you installed halogen lamps, then it should not be less than 6 cm.
Which lamps are better to choose?
Lamp manufacturers offer many models to choose from that are equipped various types lamps Most often they are:
- incandescent;
- halogen;
- LED
Let's look at the advantages and disadvantages of each type.
Incandescent lamps
These types of lamps do not have a long service life - up to 1000 hours. But thanks frosted glass the light from them is scattered. Do not forget also about the minimum distance from the ceiling, which we wrote about earlier.
Such lamps are most often used to illuminate showers, baths, saunas and other rooms in which high humidity air. This choice was made in favor of them, since they are more complex electronic systems lighting may not withstand moisture.
One of the disadvantages is also that heat accumulates in the space between the suspended and main ceilings, which over time can cause harm to the lamp or canvas.
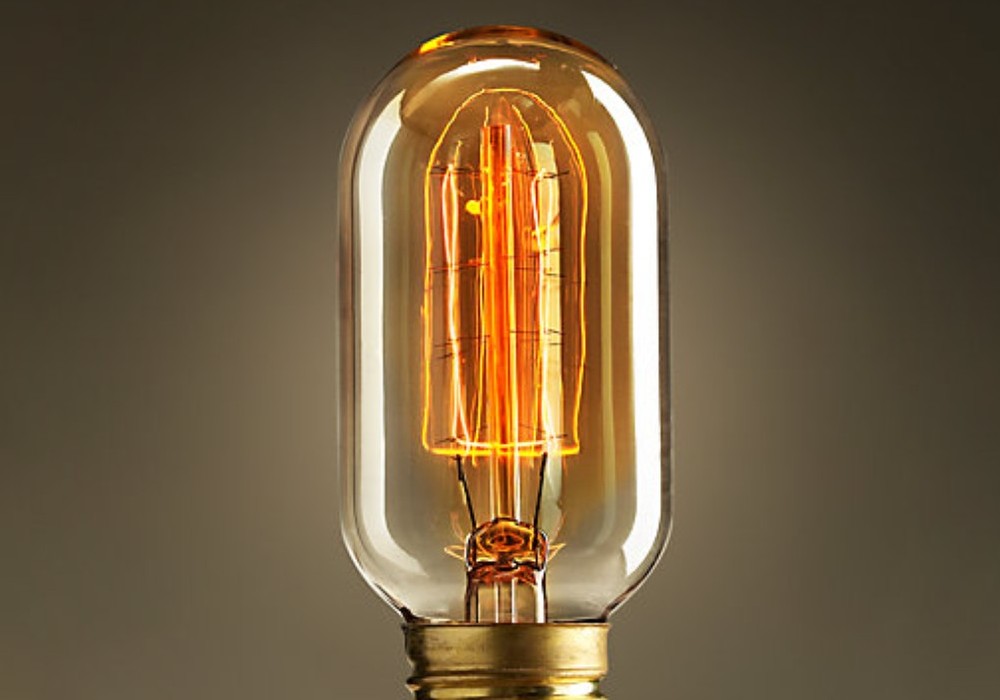 Classic tungsten incandescent lamp
Halogen lamps
Halogen lamps are brighter than incandescent lamps, although they have the same power consumption. Moreover, their service life is from 2000 to 4000 hours. Another advantage of cone-shaped lamps using halogen lamps is their directional lighting.
When installing or replacing halogen lamps, you must be extremely careful and do not touch them with your hands. Their shell is made of quartz, which may retain grease from touching. Over time, it heats up and destroys the structure of the lamp coating.
 Classical halogen lamp incandescent
 LED bulbs
Incandescent and halogen lamps are used alternating current. LED - constant. Lamps with such lamps will work for up to 5 years. They also generate much less heat. The only drawback over the previous ones is their cost, which is significantly higher than the others.
Installation of spotlights
Any work begins with the preparation of all materials and necessary equipment. To install spot lighting you will need:
- wires and sleeves for connecting them;
- lamps;
- lamps;
- switches;
- insulating tape, shrinkage.
Installation of lamps can be divided into several stages:
- development of layout;
- wiring;
- cutting holes in the ceiling;
- installation;
- examination.
Development of a layout plan
First of all, you have to decide where you want to mount the spotlights. Especially if you plan to build suspended ceiling from several levels. Then the lighting should be directed to a specific area of the ceiling or room.
Also, lamps should not be located in places where the ceiling frame will pass. This means, in addition to 1 meter between each other and 60 centimeters from the edges, the holes should be 3-5 centimeters from the frame. This is necessary so that you can easily mount the lamp itself without touching the ceiling frame.
Also consider the location of the main light source, such as a chandelier or sconce, if available. It is better then to direct spot lighting around the perimeter of the room, or to outline certain zones with it. Separate its switch from the main one.
Wiring
During installation, immediately make sure that the wiring for the lamps is also secured. Before drilling holes, make sure the wires can be easily reached and connected to the lights.
If you didn’t take some points into account and couldn’t route the wires in time, then connect the first spot lighting element. The remaining lampshades will have to be connected one by one, starting from the nearest one and ending at the end.
Do not stretch the wire too far. Leave a small margin in case its length changes due to temperature. Also leave a loop of bent wire up to 20 cm for connection. Secure it with plastic clamps. Once the wiring is installed, you can begin constructing and installing the ceiling or its covering.
Cutting holes in the ceiling
Once the ceiling covering is installed, you can completely decide on the location of the spots. Previously, you selected the placement relative to the ceiling frame. If your ceiling is made of slabs or aluminum strips, you need to check whether the location of the lamp shade coincides with the junction of the elements ceiling covering. All lamps must be inside them, not at the joints.
Remember, you can only drill a hole once, and you won’t be able to get rid of it. Once again, make sure that all calculations are correct.
Drill holes in plasterboard ceiling can be done using a special nozzle in the form of a circle. It is also needed for sockets in the walls. This is the only way to achieve a perfect circle.
Select the nozzle based on the size of the lamps. They consist of two parts - external and internal. The hole should not be larger than the outer part and smaller than the inner one. The ideal discrepancy is 4–5 mm. In most cases, a nozzle with a diameter of 6 to 7.5 cm is used.
Installation
First of all, make sure that the wire is de-energized.
After all the holes are made, pull out the loops of wires that were made in advance. If you did not take this into account, then you will have to connect the wires one by one, starting from the first lamp.
To connect the lighting, use wires up to 12 cm long. Strip a couple of centimeters and secure the right wire in the corresponding terminal mount on the luminaire. Connect the other one to the main power cable. On the luminaire, the connection is indicated as follows: L - phase, N - zero, PE - ground.
Mounting and checking
Most often, lamps are equipped with two clamps that are automatically attached to the ceiling. Bend them all the way up and insert the spot into the hole. Make sure that the wiring is not pinched. The clamps themselves will securely tighten on the ceiling.
After installing all the devices, you need to connect the main power wire to the power supply or distribution panel. Now you can check the operation of all spots and enjoy the new lighting of the room.
As you can see, installing spot lighting is not such a simple matter, but it is quite doable. If you have come across such work, share it with the readers in the comments under this article.