Backlighting for seedlings, or as they say, supplementary lighting is a question that makes not only beginners but also experienced summer residents puzzle their heads every season. Of course, someone can say that you can do without backlighting, but you must admit that it is thanks to it that plants at a very early age get a better chance of survival and resistance to growth in open ground.
Why is backlight so necessary?
There are reasons why backlighting is very desirable to use when growing seedlings:
- If you are engaged in early cultivation of seedlings, additional lighting will be very useful, as it will lengthen the daylight hours for the plants.
- Additional lighting gives the plants light from all directions and prevents them from pulling too much towards the light source.
- If you provide plants with the required spectrum of light radiation, they will be able to safely go through all stages of growth and development.
So, we made sure that highlighting plants is useful and necessary. It remains to figure out how and by what means to do this.
Plants provided with supplementary lighting in the early stages are much stronger, stronger and more resilient than those without it - in addition, they better resist infections and bring better yields.
The backlight is good when it is as close as possible in the spectrum to natural sunlight.
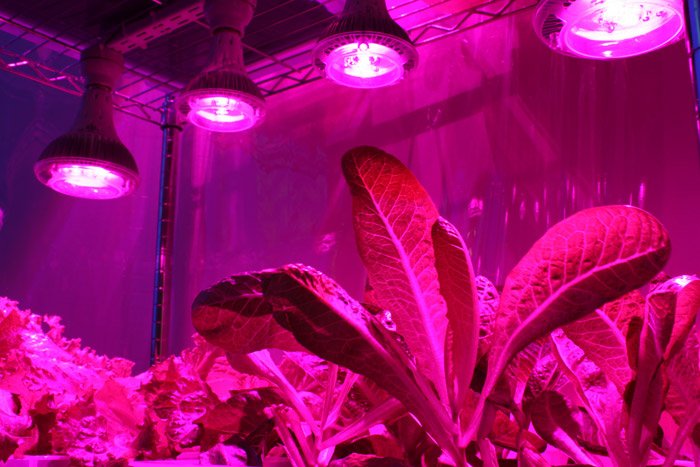
The best spectra of light emission are red and blue, with red helping plants to grow, and blue helping cells to develop.
Plant illumination methods
There are two such ways:
A lamp-free method of growing seedlings on a windowsill;
Growing seedlings using different types of lamps.
Both methods are not ideal, so you should definitely consider not only the lamp growing method, which is discussed in our article, but also the lampless one. So it will be easier for you to understand why additional lighting is better than the lampless method. Or, on the contrary, you will like growing without the use of lamps more.
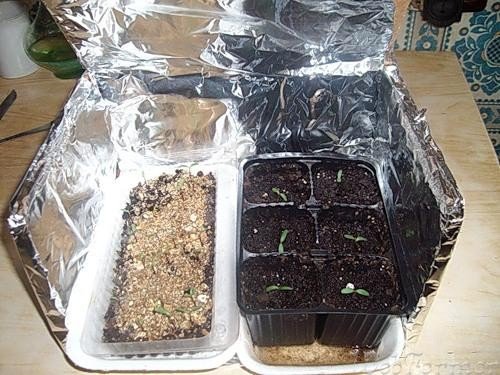
Growing without lamps
The main character in this scheme is the cardboard box, from which the sidewall and top are removed. As a result, only small sides remain, which with the rest of the box are pasted over with foil. This product is placed behind the plants and refracts the rays in sunny weather, providing all-round illumination of the seedlings.
This method is very economical, but at the same time it has a great weakness. In cloudy weather or near a window facing the north side and with large landings, the foil will not work, and in this case you will have to use additional lighting.
Seedling illumination
We pass directly to the main subject of the conversation. In fact, it is not at all difficult to organize lighting for seedlings. It is enough to correctly perform the preparatory work and provide the necessary conditions:
First, we free up space for the structure on the windowsill, the more the better;
We provide fixtures for lamps;
We supply our lighting system with a wire that will connect it to the electrical network.
It remains to choose the appropriate type of lamps that will provide our plants with the necessary light. Among all types of lamps that are used by our gardeners, the following can be distinguished:
- Sodium lamps are high pressure lamps that supply the seedlings with a constant warm light. Seedlings like this light, however, for such lamps, you need to install a power regulator in addition. Of course, not all gardeners can afford this option in view of its high price, which does not correspond to the result grown in the beds. Therefore, sodium lamps are usually chosen by those who like to experiment and devote their whole life to plants. Well, or simply has a high level of income.
- Phytolamps - have a violet-pink radiation spectrum. Plants are crazy about him, but the human body shows a completely opposite reaction. In order to avoid unpleasant consequences, these luminaires are equipped with a reflector.
- Sodium metal halide elements - this method is quite affordable for our residents and is quite effective. However, there is still not enough blue in the lighting, which means that plants will hatch and develop more slowly.
- Fluorescent lamps are an attractive option, but too cold, which indicates a lack of red spectrum.
- Ordinary incandescent lamps - if someone even condescends that they can be used to achieve a good result, we hasten to dispel this belief - these lamps are good only for heating the surrounding area. Yes, of course the plants will react to the light and turn towards the light source, but they will not receive the entire required spectrum of radiation.
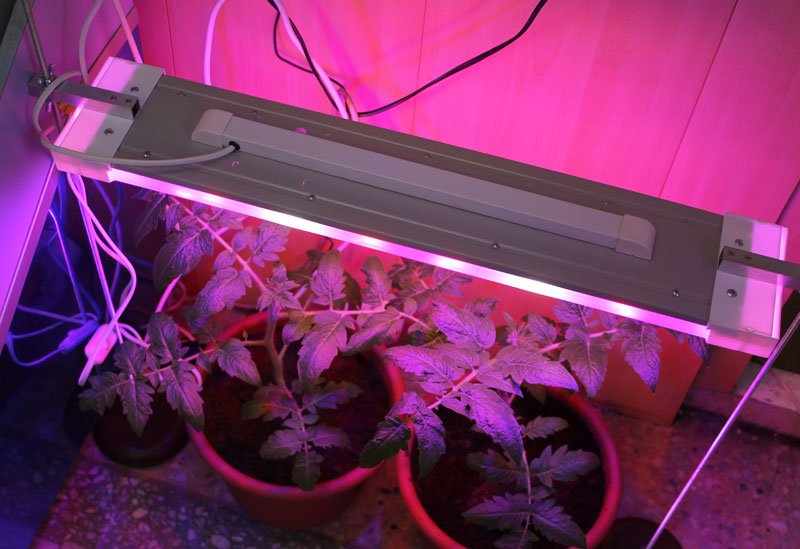
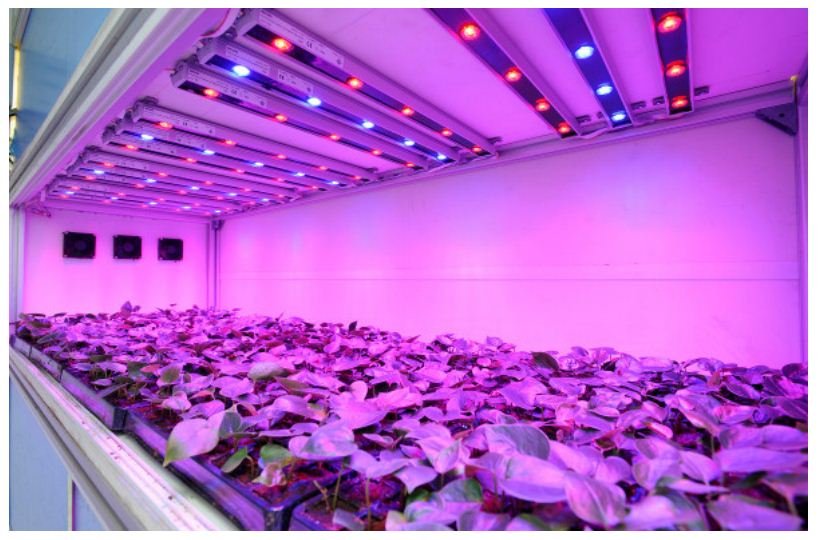
- LED lamps are already a separate topic of conversation. They have their own distinctive features that allow them to be used for growing seedlings. And these features are worth considering in detail.
Photo gallery of lights with different types of lamps
Why are LEDs good?
Here are the indisputable advantages of LED lamps:
- With their help, you can combine both red and blue emission spectra, thus creating the ideal type of lighting.
- The availability of LEDs does not need further words, so this lighting option will pay off quickly enough.
- LEDs are capable of providing seedling illumination of up to 6,000 lux needed for proper growth, while consuming very little electricity.
- If this seemed not enough for you, then we will add more about the easy level of installation and ease of use. It turns out that LEDs are almost the best option for illuminating seedlings.
LEDs have a wide range of applications both in everyday life and in production - this is largely due to the fact that with a good illumination area, they do not heat the air.
In order to make an LED lamp, you do not need to have special skills and abilities.
LED strip light requires the following items:
Red and blue LEDs;
Thermal paste or hot melt glue (hot melt glue will cost more);
Any material, starting from the usual ruler and ending with a metal profile as a base;
Driver or power supply - required for a stable supply of voltage and voltage of the required magnitude;
Plug and cord.
To set the optimal lighting on the tape, you will need to arrange the red and blue LEDs in a 2: 1 ratio in order (that is, 2 red - 1 blue - 2 red - 1 blue).
The connection is made by soldering, after which all this is output to the driver, and the driver is connected to the switch and plug. The tape can be attached to the surface using double tape, bolts or rivets. After that, it is included in a common circuit with a cord, driver, plug and switch.
Shelving creation (video)
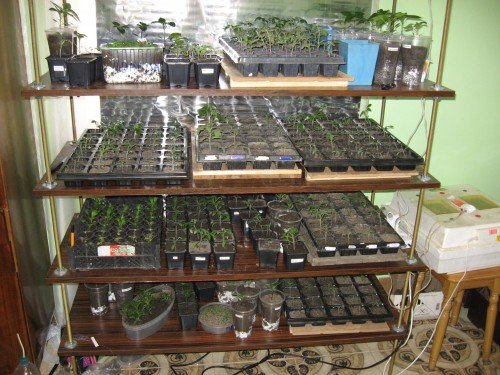
The construction of a small rack will not take much of your time and at the same time will save you space for seedlings. After all, with its help you can arrange it in several levels.
The rack is made from a metal corner or a wooden bar, and fastening takes place using bolts or self-tapping screws.
The rack itself is a fairly simple structure in the form of shelves with hollow compartments, where they will be placed. It is recommended to make no more than three tiers in height, and each of them will be illuminated by a lamp installed on the bottom of the shelf located one level higher.
The choice of a lamp is already the sole prerogative of the owner of the apartment, since everyone has their own time-tested preferences. If you are just trying to experiment with lighting, try several options and see which one works best for the plants. Thanks to this selection, you can find the optimal lighting method.


